Highlights for Pipe Boot Issues
Roof pipe boots seal vent pipes to prevent leaks. Common issues include cracks, UV damage, and poor installation. Signs of damage include roof leaks and shingle wear. Regular inspections, quality materials, and timely repairs can protect your home. Hire a professional for safe and effective maintenance.
Table of Contents
Signs of Pipe Boot Issues and the Repair Process
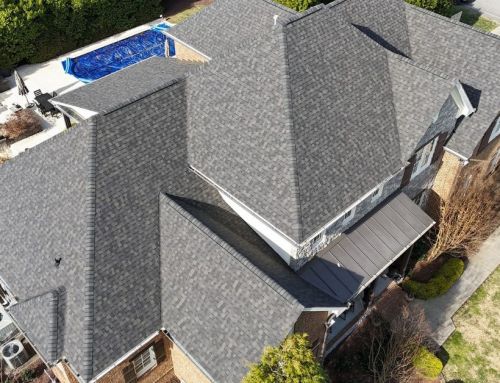
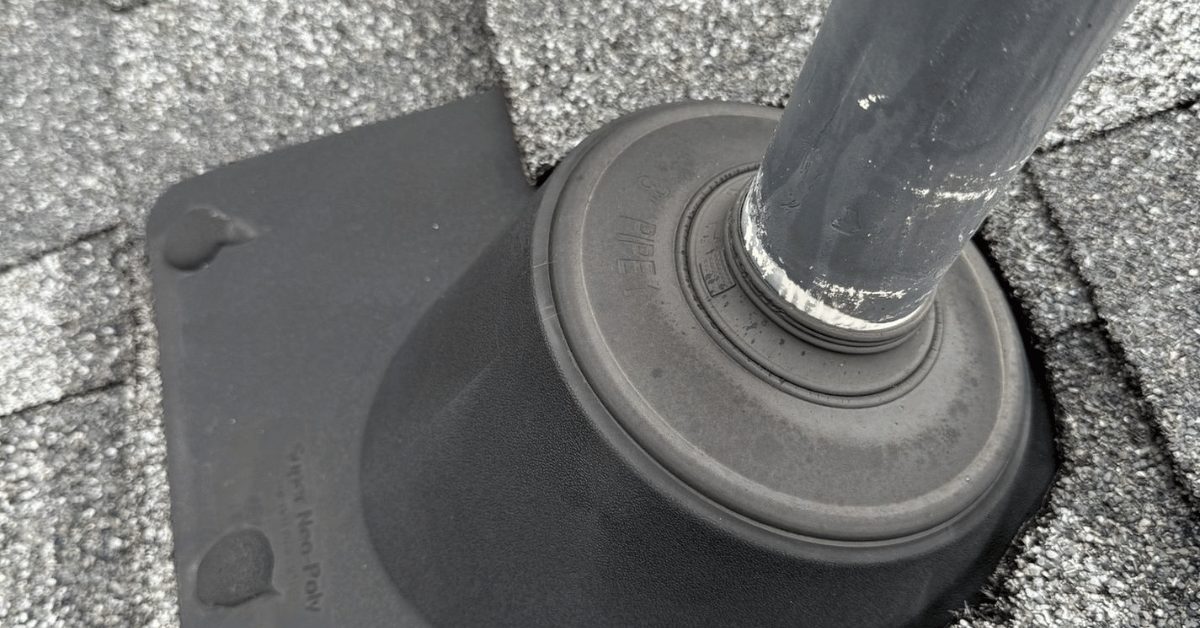
While your roof might look simple at first glance, dozens of elements go into making it structurally sound and effective in protecting the structure and inside of your home from the elements. One of those elements is pipe boots, rubber, or metal collars that encase vent pipes that stick out from your roof. Pipe flashing is crucial in creating a watertight seal around these penetrations, preventing leaks and weather-related damage.
Understanding Roof Boot Issues
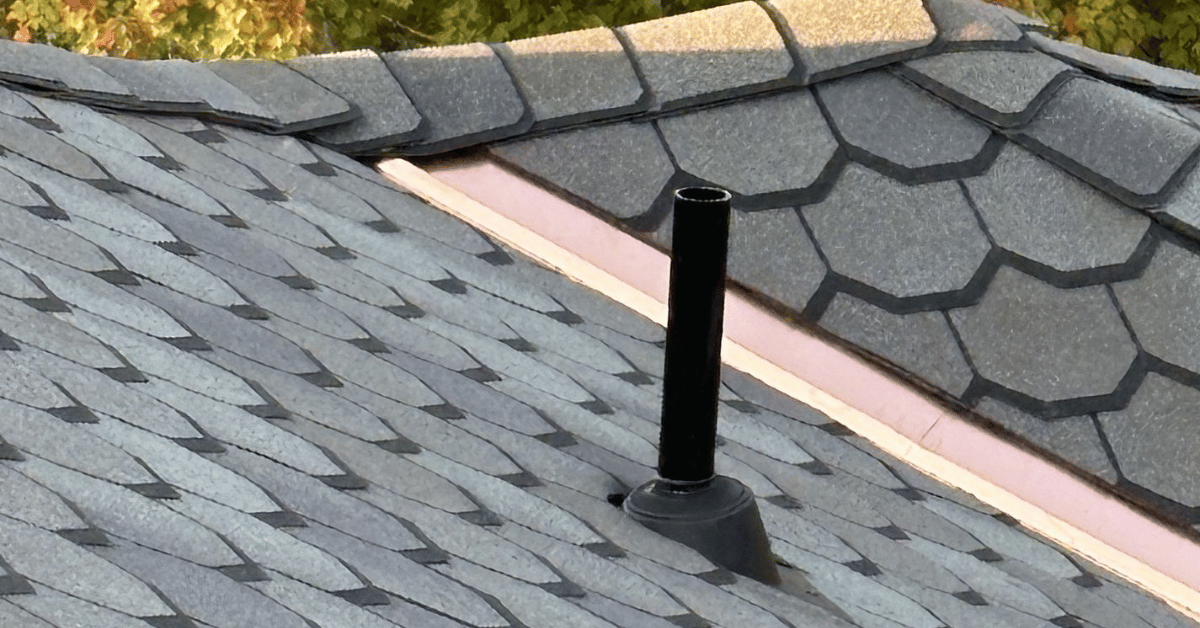
Roof boots are crucial for a roofing system, providing a watertight seal around pipes and vents penetrating the roof’s surface. However, like any other roofing component, roof boots can be prone to issues compromising the roofing system’s integrity. Understanding the common issues that can affect roof boots is essential for homeowners to identify potential problems early on and take corrective action to prevent costly repairs.
Some common issues that can affect roof boots include:
-
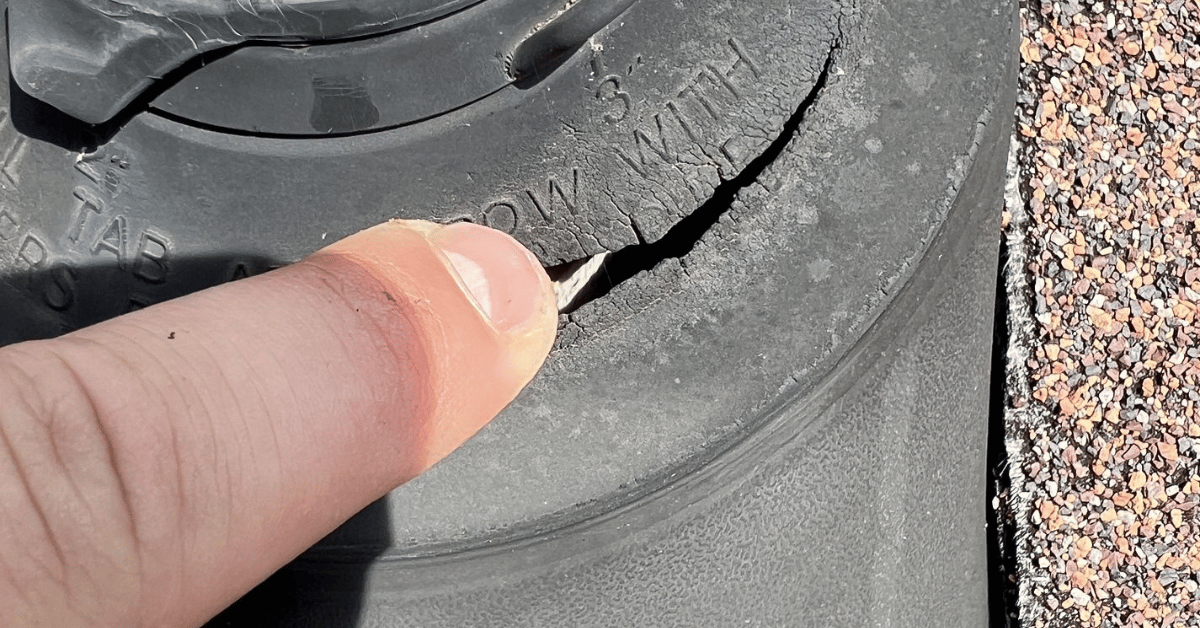
Cracks and Splits: Over time, roof boots can develop cracks and splits due to exposure to extreme temperatures, weather conditions, and UV rays. These cracks can allow water to seep through, leading to leaks and water damage.
-
Separation from the Roof or Pipe: Due to settlement, movement, or improper installation, roof boots can separate from the roof or pipe. This separation can break the watertight seal, allowing water to penetrate the roofing system.
-
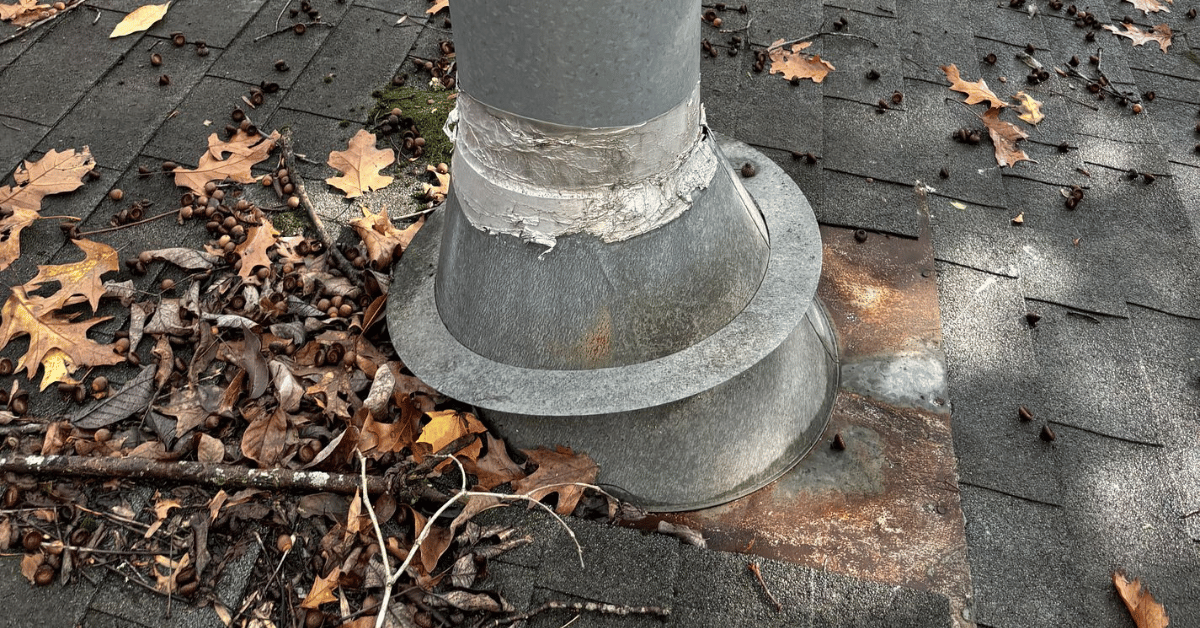
Mineral Deposits and Debris Accumulation: Mineral deposits and debris can accumulate around the pipe boot, causing damage and compromising the seal. Regular cleaning can help prevent this issue.
-
Water Stains and Discoloration: Water stains and discoloration around the pipe boot can indicate a leak or water intrusion. These signs should be addressed promptly to prevent further damage.
Common Signs of Damage During Roof Inspection
When installed correctly and in good working condition, pipe boots form a waterproof seal around pipes, preventing leaks from entering your home. It is crucial to promptly address a faulty roof boot to prevent costly damages. In extreme weather, such as hurricanes, prolonged periods of direct sunlight, and tornadoes, your roof’s pipe boots may sustain damage that can cause them eventually lead them to shift, peel, or crack. Some common warning signs of damage include:
-
Leaks in your roof that, in extreme cases, can penetrate into your home’s ceiling
-
Holes, tears, cracks, or other forms of damage on the shingles around your roof’s vent pipes
-
Cracked paint or peeling wallpaper on the ceilings of your kitchen or bathrooms
-
Water stains on your walls or ceilings
Causes of Roof Boot Damage
Roof boots can be damaged due to various factors, including:
-
Temperature Changes: Extreme temperature fluctuations can cause roof boots to expand and contract, leading to cracks and splits. This is especially common in areas with hot summers and cold winters.
-
Weather Conditions: Heavy rainfall, hail, and strong winds can cause damage to roof boots. Severe weather can dislodge or tear the boots, compromising the seal.
-
UV Rays: Prolonged exposure to UV rays can cause roof boots to degrade and become brittle. This degradation can lead to cracks and splits over time.
-
Improper Installation: Poor installation techniques can damage roof boots and compromise the seal. Therefore, it is crucial to ensure that roof boots are installed correctly for longevity.
-
Age and Wear and Tear: Roof boots can deteriorate over time due to age and wear and tear. Regular inspections can help identify aging roof boots that need replacement.
Choosing the Right Roof Boots
Choosing the proper roof boots for your residential roof ensures a watertight seal and prevents costly repairs. Here are some factors to consider when selecting roof boots:
-
Material: Roof boots can be rubber, metal, or both. Rubber roof boots are flexible and easy to install, while metal ones are more durable and long-lasting. When choosing the material, consider your roofing system’s climate and specific needs.
-
Size: Ensure the roof boot is the correct size for the pipe or vent. It will seal. An improperly sized boot can lead to leaks and other issues.
-
Type: Different roof boots are available, including pipe boots, vent boots, and flashing boots. Choose the right type for your specific roofing application to ensure a proper fit and seal.
-
Quality: Look for high-quality roof boots that are durable and long-lasting. Investing in quality materials can save you from costly repairs down the line.
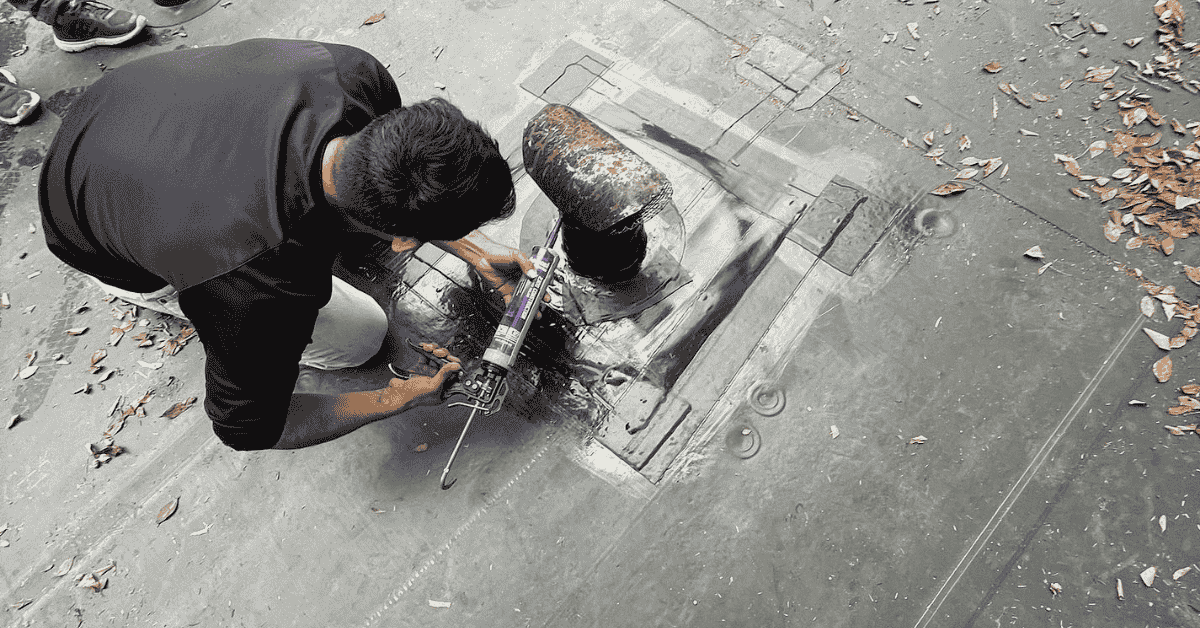
The Repair Process with a Roofing Contractor
If you notice any of these issues, it’s likely time to replace your roof’s pipe boots. We always recommend having a professional help you with these sorts of repairs, but if you’re brave enough to go the DIY route, here’s a breakdown of the process:
Step 1: Prep
First, pull the shingles up around the pipe boot, careful not to tear any of them. Just in case, have a few extra shingles on hand to replace any damaged ones. Once the shingles are lifted, loosen the nails and remove the shingles around the plumbing vent pipes and the pipe boot’s base. Ensuring a watertight seal around plumbing vent pipes prevents water damage.
Step 2: Remove
Now that you’ve removed the shingles, you can remove the old pipe boot. Start by removing the nails or screws that hold it in place, and then lift it carefully. Make sure to be gentle while removing it so that you do not cause any damage to your roof. You should also take a moment to clean the area with a rag or paper towel.

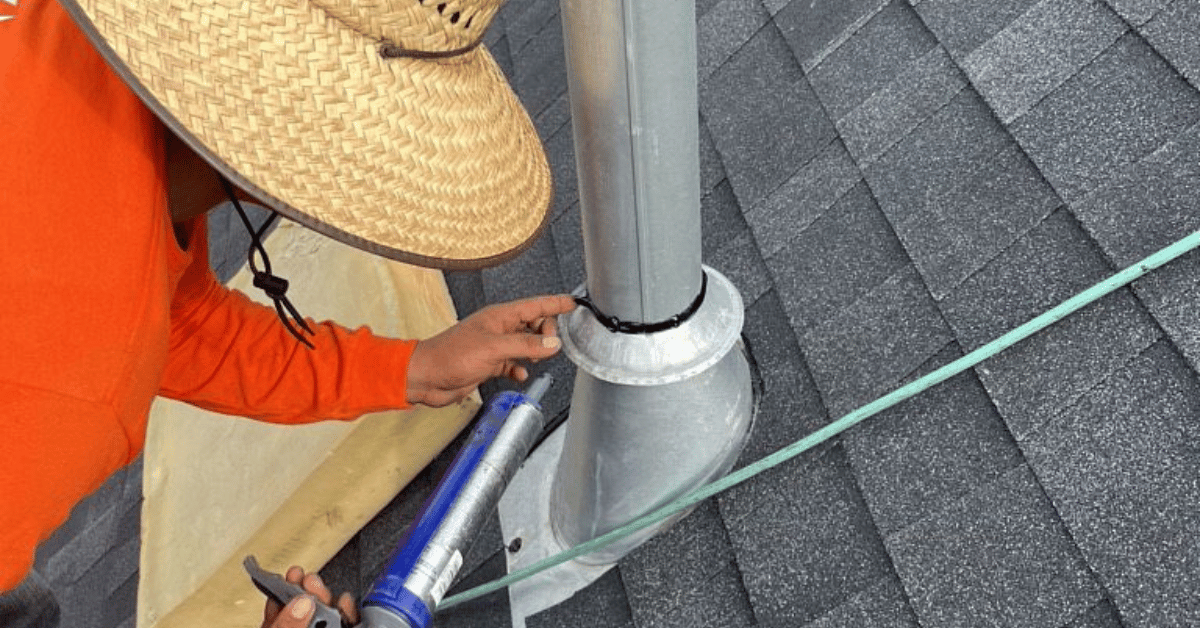
Step 3: Replace
Once you have your new pipe boot in hand, take a second to confirm it’s the right size before installing it. You can then place it down into the space where your old one previously sat. Spinning it around a few times can help you get it into place if you’re having trouble. Once settled, you should put a few nails around the base of the pipe boot to ensure a firm hold. You can also caulk around properly seal the top, right, and left edges. Maintaining the integrity of the vent pipe is essential to prevent water damage.
Step 4: Reshingle
Once the caulk dries and everything feels sturdy, reinstall the pipe vent surrounding the shingles. Ensure each shingle is laid down properly before breaking out the nails. Do not get too close to the edge of the pipe boot when placing the nails.
Preventing Roof Boot Problems
Preventing roof boot problems requires regular inspection and maintenance. Here are some tips to help prevent roof boot issues:
-
Regular Roof Inspections: Inspect your roof regularly to identify potential issues with the roof boots. Early detection can prevent minor problems from becoming major repairs.
-
Clean the Roof Boots: Clean the roof boots regularly to remove debris and mineral deposits. Keeping the area around the boots clean can help maintain the seal and prevent damage.
-
Inspect the Seal: Inspect the seal around the pipe boot to ensure it is watertight. If you notice any gaps or cracks, address them promptly to prevent leaks.
-
Replace Damaged Roof Boots: Replace damaged roof boots promptly to prevent costly repairs. Ignoring damaged boots can lead to water intrusion and significant damage to your roofing system.
Cost and Installation Considerations
The cost of installing roof boots can vary depending on the type, size, and material of the boot. On average, homeowners can expect to pay between $150 to $300 to install a single roof boot. It is essential to consider the following factors when installing roof boots:
-
Labor Costs: Labor costs can vary depending on the complexity of the installation and the contractor’s rates. Hiring a professional roofing contractor can ensure proper installation and prevent future issues.
-
Material Costs: Material costs can vary depending on the type and quality of the roof boot. Investing in high-quality materials can provide better durability and longevity.
-
Warranty: Look for roof boots with a warranty that covers defects and materials. A good warranty can provide peace of mind and protect your investment.
-
Installation Techniques: Ensure the contractor uses proper installation techniques for a watertight seal. Proper installation is crucial for the effectiveness and longevity of the roof boots.
By understanding roof boot issues, their causes, and how to choose and maintain them, homeowners can protect their roofing systems and avoid costly repairs. Regular inspections and prompt replacements are key to keeping residential roofing applications in top condition.
Not Ready to DIY? Avoid Costly Repairs
Many homeowners are wary of completing roof repairs by themselves because, without the help of a professional, they can result in injuries and/or extra costs. Proper maintenance of roof boots is crucial to prevent issues within the home’s plumbing system. It’s best to enlist the help of a skilled team of roofers to help you complete any necessary repairs or improvements. Have our team of experts help get your roof in tip-top shape – Contact us